
Guide to Stargazing: Gear, Apps, and What to Look For

Stargazing is a rewarding hobby that anyone can enjoy, whether you’re armed with just your eyes or a high-end telescope. In this guide, we’ll break down tips and recommendations by experience level: Beginner, Intermediate, and Experienced, so you can get the right gear, find useful apps, and know what celestial sights to seek out. In a previous post I shared what to watch for in each season, but now it’s time to dive straight into the essentials. So grab your star map, and let’s explore the night sky!” !
Beginner Stargazing
Getting Started: As a beginner, the key is to keep things simple and enjoyable. Start with basic equipment that’s easy to use, and focus on bright, easy to find objects in the night sky (like the Moon and planets). Here’s what we recommend for novice stargazers:
- Binoculars (Highly Recommended): A good pair of binoculars is often the best "first telescope." They’re portable, intuitive, and give a wide view of the sky. For example, the Nikon Aculon 10x50 binoculars are a top pick for entry level astronomy they magnify 10× and have large 50 mm lenses to gather plenty of light. With 10x50 binos, you can easily see craters on the Moon and even Jupiter’s four largest moons (appearing as tiny star like points near the planet). Standard 7×50 or 8×42 binoculars also work well for hand held stargazing if 10×50 feels heavy. (Tip: To get a steady view, brace your elbows or use a tripod adapter for binoculars.)
- Beginner Telescopes: If you’re ready for a telescope, choose one that is easy to set up and aim. A small refractor or a compact reflector on a simple mount is ideal. One popular option is the Celestron StarSense Explorer DX 130AZ a 5 inch Newtonian reflector that comes with a special smartphone dock and app to help you find targets. Reviewers call it "an exquisite telescope for the beginner," since you can use the StarSense app for guidance or practice finding objects manually with the red dot finder. It’s a fully equipped kit (comes with eyepieces and everything you need) and has enough aperture to show galaxies, nebulas, planets and star clusters clearly. If you prefer a smaller refractor, the Celestron Inspire 100AZ (a 100 mm refractor) is another beginner friendly scope that’s portable and easy to use it provides a wide field of view great for the Moon, planets, and bright deep sky objects like the Orion Nebula and Andromeda Galaxy. Many of these starter telescopes include accessories like a smartphone adapter (for taking photos) or an erect image diagonal (so it doubles as a spotting scope for daytime use).
- Star Maps & Charts: Even in the age of apps, there’s something magical about a physical star map when you’re learning the constellations. A planisphere (rotating star wheel) is an inexpensive tool to see what stars are above the horizon for any date and time. For example, The Night Sky Planisphere by David Chandler is praised as "the finest and easiest to use star finding aid" and can have you locating constellations within minutes. It’s a simple disk you adjust to your time and latitude perfect for beginners. You might also consider a beginner astronomy book like Turn Left at Orion or a Pocket Sky Atlas for more detailed charts (the Sky & Telescope Pocket Sky Atlas Jumbo Edition is a fantastic reference that’s "perfect for beginners and experienced stargazers alike," with charts you can use under red light at the telescope). Don’t forget to use a red flashlight (or a headlamp with red LED mode) to read your star maps at night red light preserves your night vision.
- Essential Accessories: Besides optics and charts, a few small accessories will greatly improve your stargazing. A red light flashlight is number one (as mentioned) it allows you to see in the dark without ruining your eye’s adaptation to night. Many beginner telescope kits include a basic one; if not, you can pick up an inexpensive red LED flashlight or even use a taillight from a bike. Also, dress warmly (even summer nights can get chilly when you’re sitting still) and bring a comfortable chair or blanket if you’ll be out for a while. For telescope users, consider getting a Barlow lens (to double your magnification) and maybe an extra eyepiece with a wider field of view for scanning the sky. Lastly, have patience learning to navigate the stars takes time, but it’s very rewarding!
-
Beginner Targets (What to Look For): Start with the easy wins in the night sky. The Moon is an obvious and wonderful target – even binoculars will reveal lunar craters and maria (dark “seas”), and a small scope will show incredible detail on the Moon’s terminator (the day/night line). Planets are next: bright Venus, reddish Mars, giant Jupiter, and ringed Saturn are all visible to the naked eye at different times, and through optics they really come alive. Jupiter will show one or two cloud bands and its Galilean moons (which you can watch move night to night), and Saturn’s rings should be visible in even the smallest telescope at 25× magnification .Seeing Saturn’s rings for the first time is often a jaw-dropping experience for new stargazers. Don’t overlook star clusters: the Pleiades (Seven Sisters) in Taurus is a gorgeous fuzzy patch to the naked eye that bursts into dozens of glittering stars in binoculars.
The Orion Nebula (M42), located in Orion’s “sword,” is a hazy 4th-magnitude patch visible even without optics, binoculars enhance its glow, revealing the stellar nursery where new stars light up the gas cloud. Aim your beginner scope at Orion’s Nebula and you’ll see a misty bloom of light with a few young stars (the Trapezium) at its heart; you’re literally looking at a place where stars are being born! Other beginner-friendly sights include earthshine on the Moon (when a thin crescent Moon shows a faint glow on its dark side due to light reflected from Earth) and satellite spotting (the International Space Station, for instance, is very bright and can be spotted moving across the sky if you check pass times on an app). By focusing on bright objects and using your basic gear, you’ll build confidence and familiarity with the night sky.
Best Apps for Beginners:
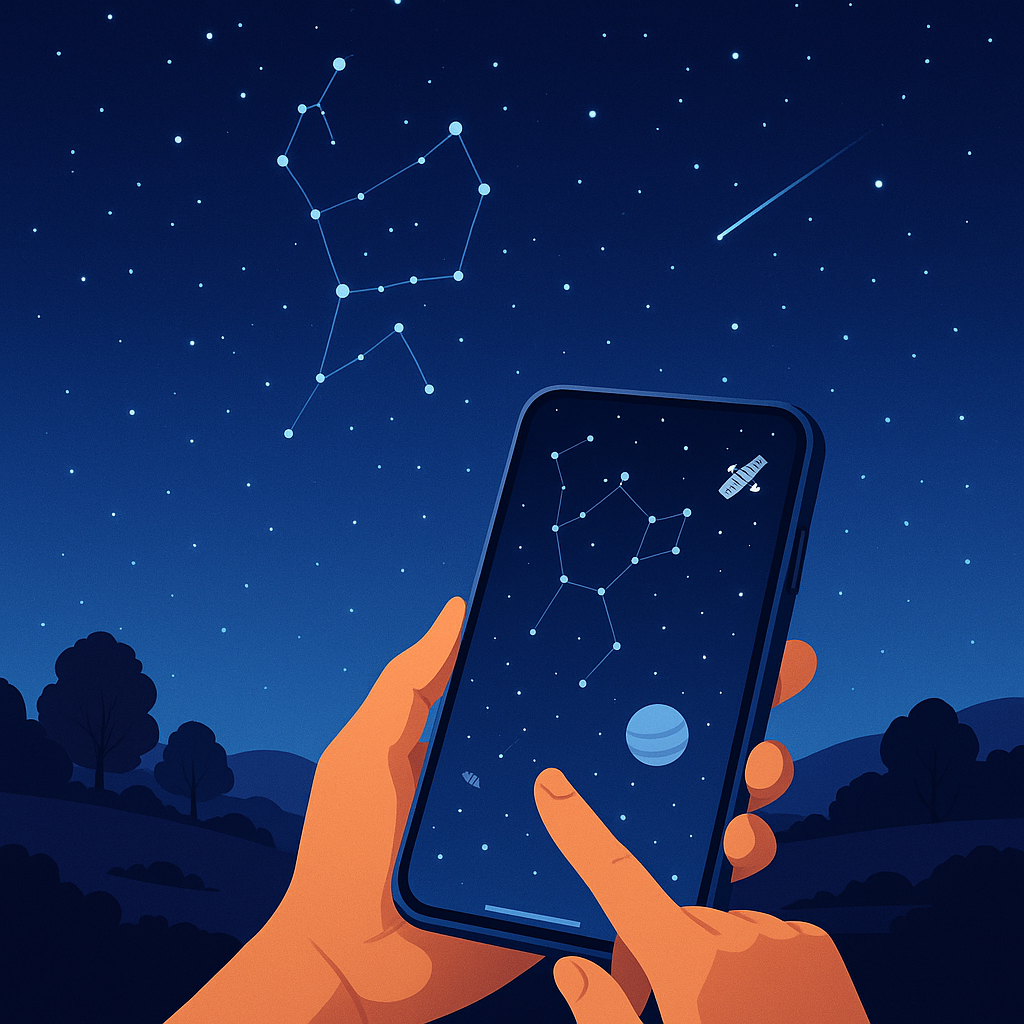
A smartphone can be a beginner astronomer’s best friend. Download a free stargazing app like Stellarium Mobile or SkyView Lite. These apps use your phone’s sensors to act as an AR sky map: just point your phone at the sky and it will label the stars, planets, and constellations you’re seeing. This is incredibly helpful when you’re still learning to identify things. (Many beginner telescopes now even come with phone adapters and apps, as with the StarSense Explorer series we mentioned, which effectively “plate-solves” the sky for you to guide you to targets.) Some recommended apps (more details in the Apps section later) for beginners include: SkySafari (extensive database and telescope control features, with a basic free version), Star Walk 2 (beautiful visuals and great for learning constellations), and the official NASA app (for news, images, and alerts of ISS passes or launches). For now, just know that having an interactive sky map app can drastically shorten the learning curve.Getting Started
- Binoculars: Nikon Aculon 10x50 or 7×50/8×42 for handheld use.
- Beginner Telescopes: Celestron StarSense Explorer DX 130AZ or Inspire 100AZ.
- Star Maps & Charts: The Night Sky™ Planisphere, Pocket Sky Atlas, and Turn Left at Orion.
- Essential Accessories: Red flashlight, Barlow lens, extra eyepiece, comfortable chair or blanket.
Beginner Targets (What to Look For)
- Moon: Craters, maria, terminator.
- Planets: Venus, Mars, Jupiter with moons, Saturn’s rings.
- Star Clusters: Pleiades, Hyades.
- Nebulae: Orion Nebula (M42).
- Satellites: ISS flyovers.
Apps for Beginner Users
- Stellarium Mobile
- SkyView Lite
- SkySafari
- Star Walk 2
- NASA app
Intermediate Stargazing
So you’ve mastered the basics and you’re hungry for more? Intermediate stargazers often want to see fainter objects and get more precision in their stargazing. This is the stage where you might upgrade your equipment and tackle new challenges like finding faint nebulae, tracking subtle astronomical events, or even doing some casual astrophotography. Here’s how to level up:
-
Upgraded Telescopes: Intermediate users usually crave a bigger or more capable telescope for a brighter and more detailed view. There are two popular paths here: go for more aperture (a bigger light bucket) or add computerized tracking to help find and follow objects. If you want the most bang-for-buck in viewing faint deep-sky objects, it’s hard to beat a Dobsonian reflector in the 6- to 10-inch range. For example, an 8-inch Dobsonian like the Sky-Watcher Classic 200P (8" Dobsonian is a simple, sturdy telescope that gathers 816× more light than the human eye alone – galaxies and nebulae that were smudges in a small scope will show structure and more detail with an 8″. Dobsonians are manual (no motors or computers), but they are intuitive to point; you just nudge the tube up/down and left/right.
Many intermediate stargazers love the thrill of "star-hopping" to find targets manually. On the other hand, if you prefer a high-tech approach, a GoTo telescope is a game-changer. A GoTo scope has a computerized mount that can automatically point the telescope to objects from a built-in database. A classic example is the Celestron NexStar SE series: the 6-inch or 8-inch Schmidt-Cassegrain models. The NexStar 8SE (an 8″ catadioptric telescope) is often cited as an ideal "splurge" for serious beginners/intermediates because of its powerful GoTo mount. With the 8SE, you align it on any three bright objects (using Celestron’s SkyAlign system) and the telescope can then locate over 40,000 celestial objects for you at the push of a button.
It’s a fantastic option if you don’t have dark skies or time to star-hop you’ll be observing more and searching less. The downsides are cost (a GoTo like the 8SE is significantly more expensive than a manual Dob) and power needs (you’ll need a portable battery or power supply to run the motors). There are also "in-between" options: for instance, Celestron’s StarSense Dobsonian 8" gives you an 8″ Dob with a smartphone guidance system; a mix of big aperture and app assistance. Bottom line: intermediate telescopes often mean either bigger or smarter (or both). Choose based on whether you enjoy the hunt (manual large Dob) or prefer convenience (computerized SCT or refractor). - Better Eyepieces & Filters: By this stage, you might start expanding your eyepiece collection to enhance your views. Most starter telescopes come with modest eyepieces that do the job, but upgrading to quality eyepieces can provide sharper, wider views. Consider getting a wide-angle eyepiece (e.g., a 32mm Plössl or a 24mm ultra-wide) for panoramic views of star fields, and maybe a high-power eyepiece (~8-10mm) for zooming in on planets and the Moon on steady nights. A Barlow lens (which multiplies magnification, typically 2×) is also handy if you don’t have one. Filters become useful at the intermediate level: a UHC (Ultra High Contrast) or narrowband nebula filter can make a big difference in observing emission nebulae by filtering out some light pollution and enhancing the contrast of glowing gas clouds. For example, under moderately dark skies a UHC filter will cause the Orion Nebula or Lagoon Nebula to pop out more clearly. A Moon filter (neutral density filter) is nice to dim the Moon’s brightness when it’s near full (save your night vision from moon-glare!). If you love planets, consider a couple of simple color filters – they can help tease out details like Jupiter’s cloud bands or Saturn’s Cassini division by increasing contrast.
- Star Maps & Software: Intermediate stargazers often move from planispheres to more detailed atlases or digital tools. A highly recommended printed atlas is the Sky & Telescope Pocket Sky Atlas (we mentioned the Jumbo version earlier). It has 80+ charts covering 30,000 stars and 1,500 deep-sky objects. Using it, you can plan an observing session and star-hop to pretty much any Messier or NGC object visible in your scope. On the digital side, there are fantastic free programs like Stellarium (for desktop or mobile) which simulate the night sky with great accuracy. Many intermediate astronomers also start logging their observations, either in a notebook or with apps that have planning/logging features (SkySafari, for example, lets you mark objects as observed and even control telescopes with a wireless adapter). At this level, you might also enjoy subscribing to astronomy magazines or websites to get monthly star charts and learn about new objects to find.
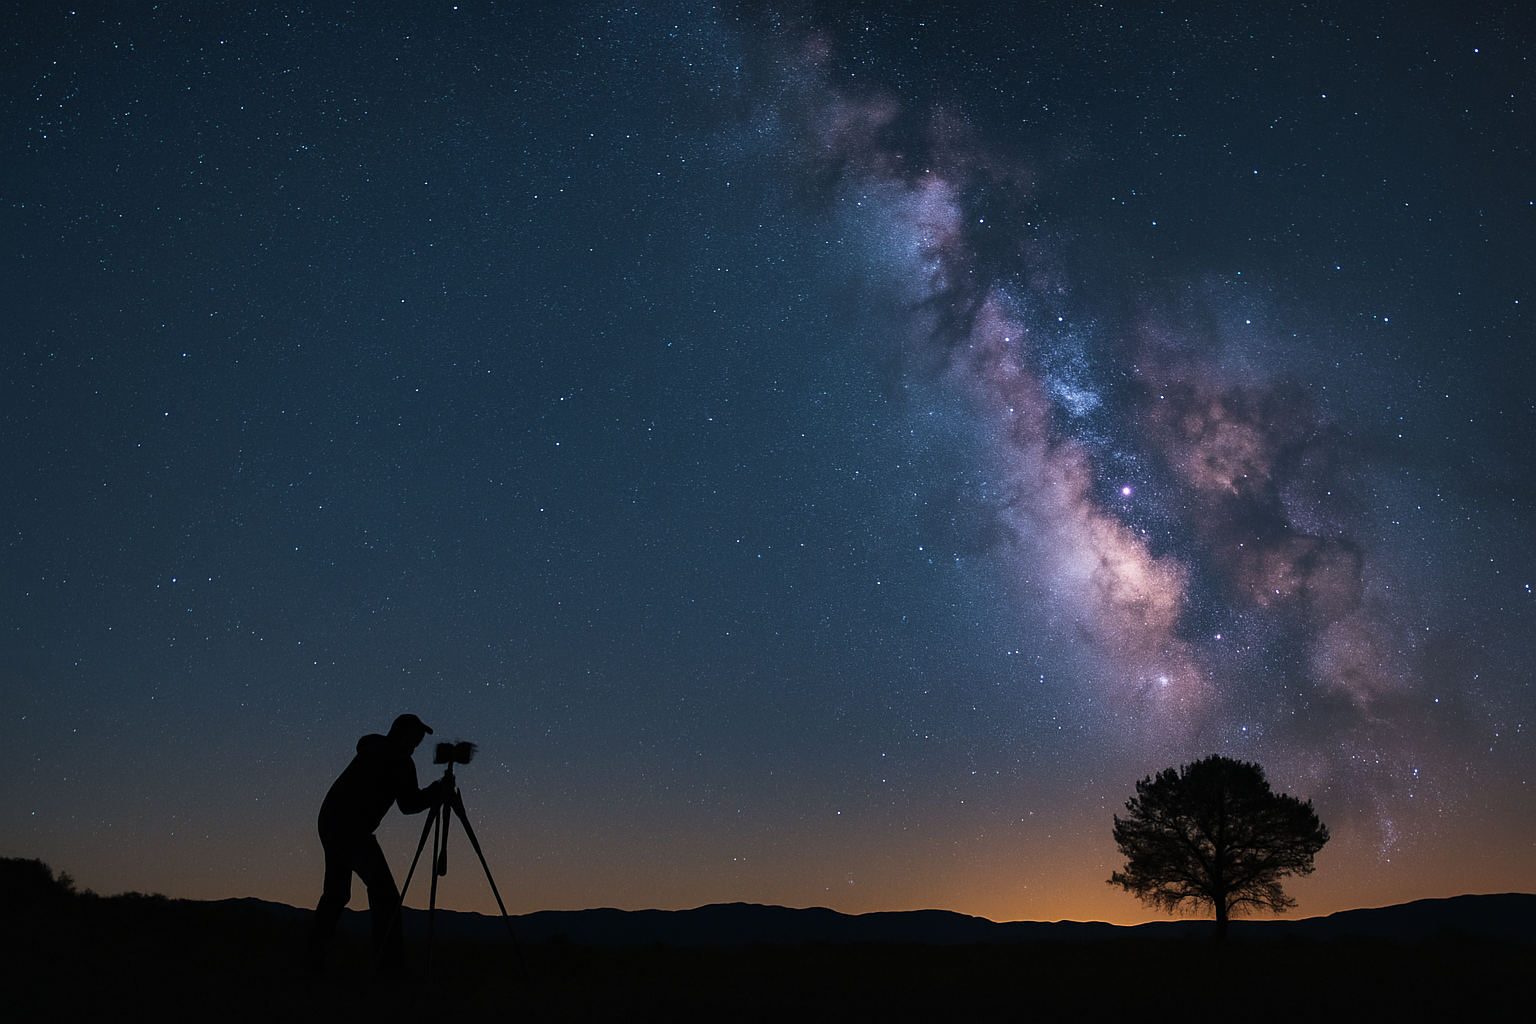
- Astrophotography Intro: Some intermediate observers feel the itch to photograph what they see. Astrophotography can get very complex (and expensive) fast, but there are beginner-friendly entry points. With a sturdy tripod and a DSLR or mirrorless camera, you can attempt wide-field night sky photos (like capturing the Milky Way or star trails). Many enjoy using a smartphone adapter to take snaps through the eyepiece of a telescope (called afocal photography). You can capture the Moon, planets, and bright nebulae this way. If you have a motorized mount, you can try longer exposures of star clusters or galaxies with a camera attached. Just be warned: serious deep-sky imaging requires specialized gear (equatorial mount, autoguider, etc.), so consider this a bonus at the intermediate stage, not a necessity.
Upgraded Telescopes
- Manual: Sky-Watcher Classic 200P (8" Dobsonian)
- GoTo: Celestron NexStar SE series (6" or 8")
- Hybrid: StarSense Dobsonian 8"
Better Eyepieces & Filters
- Wide-angle eyepieces (32mm, 24mm)
- High-power eyepieces (8–10mm)
- Barlow lens
- Filters: UHC, Moon, color filters
Star Maps & Software
- Sky & Telescope Pocket Sky Atlas
- Stellarium (desktop & mobile)
- SkySafari with planning/logging features
Astrophotography Intro
- Smartphone adapters
- DSLR on tripod for wide-field shots
- Basic afocal imaging through telescope
Intermediate Targets (Expanding Your Horizons)
- Globular clusters: M13, M22
- Galaxies: Andromeda (M31), M32, M110
- Nebulae: Orion, Lagoon (M8), Dumbbell (M27), Ring (M57)
- Planetary Nebulae, Double Stars: Albireo, Double Double
- Meteor Showers: Perseids, Geminids
Apps for Intermediate Users:
Building on the basics, intermediate stargazers may benefit from more specialized apps.
- SkySafari Plus/Pro: A powerhouse astronomy app with an enormous database (SkySafari 7 Pro, for instance, boasts the largest database of any astronomy app). It’s great for planning observations, controlling GoTo mounts via WiFi, and even logging what you’ve seen. It’s a paid app, but many enthusiasts find it worth it. (The Pro version is pricy, but the Plus version offers most features at lower cost.)
- Stellarium (Plus): The mobile version of Stellarium has a "Plus" upgrade which adds more stars and deep-sky objects. It provides a very realistic sky simulation. It’s excellent for planning and has a night mode to use at the telescope.
- Astrospheric: For those chasing clear skies, this free app gives detailed weather forecasts for astronomy, including cloud cover, transparency, seeing conditions, etc. Knowing if the night will be steady (good for high-power planet viewing) or transparent (good for faint fuzzies) helps you plan what to observe.
- ISS Detector / Heavens-Above: These apps (or the Heavens-Above website) help you track satellites. It’s quite gratifying at outreach events to suddenly say, "Hey, the ISS is about to fly over!" and point it out as a bright fast-moving star. Intermediate users often become the go-to person for such info among friends.
- Dark Sky Map apps: We’ll talk more about light pollution maps in the next section, but apps like Light Pollution Map (Android) or Dark Sky Finder can help you find new observing sites.
- Astronomy News & Reference: Consider apps like Sky & Telescope or Astronomy Magazine apps for news, or an app like Luminos (iOS) or Cosmic Watch for additional cool features (Cosmic Watch, for example, is an AR sky clock that visualizes the celestial sphere – very educational).
In short, intermediate stargazers have a world of tools at their fingertips to enhance the observing experience, from planning sessions to identifying that mysterious glow in the eyepiece.
Experienced Stargazing
At the experienced level, you’re likely deeply passionate about astronomy and possibly specialized in certain aspects (be it visual observing, astrophotography, outreach, or all of the above). You’ve spent many nights under the stars, and you might be looking to push the limits of what you can see or capture. Here we’ll discuss high-end gear options, advanced observing goals, and maintaining the joy that got you into this hobby in the first place.
- Advanced Telescopes & Mounts: Experienced amateur astronomers often have multiple telescopes for different purposes. For visual observing of very faint objects, you might go big – perhaps a 12-inch or larger Dobsonian (some even build or buy 16–20″ light-buckets that require a ladder to look through!). These giant Dobs under dark skies will reveal details in galaxies and nebulae that smaller scopes simply can’t. Others might invest in a high-quality apochromatic refractor – not large in aperture, but delivering pinpoint stars and high contrast (great for planets, double stars, and astrophotography). By this stage, many have a solid equatorial mount (EQ mount) that tracks the sky’s rotation smoothly. An EQ mount is essential for long-exposure photography and helpful for high-power viewing as it keeps objects centered with just one axis of movement. A popular choice is something like the Sky-Watcher EQ6-R Pro or Celestron AVX for those doing imaging or using multiple optical tubes.
If you’re into astrophotography, your setup might include an APO refractor in the 70–100 mm range or a larger astrograph, an autoguiding system, dedicated cooled astro cameras or a DSLR, and software for stacking and processing images. At this level, people often treat the mount as the most critical component (it’s said “the best telescope is the one that gets used” and “the mount is at least as important as the scope” especially for imaging). On the other hand, some experienced folks pivot to the new era of smart telescopes. Devices like the Unistellar eVscope or Vaonis Stellina/Vespera are integrated systems that do live image stacking to show you color views of deep-sky objects in minutes, even from urban environments. One model, the Unistellar eQuinox 2, is described as “easy-to-use” and capable of impressive astrophotos even under light-polluted skies.
These smartscopes aren’t cheap (usually $2k–$4k), but they offer a turn-key way to observe and capture images without the traditional complexity. They even include features like automated field detection, tracking, and light pollution reduction algorithms. For example, Unistellar’s tech includes “Smart Light Pollution Reduction” that filters out background skyglow; reviewers have noted it’s perfect for city-dwellers who still want to observe the nebulae and galaxies, and they’ve been “blown away” by what these devices can show in suboptimal conditions.
If you are an experienced observer who perhaps lives under urban skies and doesn’t have time to travel frequently, a smart telescope can renew the hobby by revealing deep-sky objects from your backyard (albeit on a screen or electronic eyepiece). Some purists prefer the traditional route (star-hopping and visual observing through an eyepiece), but it’s wonderful that such options exist to keep people engaged in astronomy regardless of location. - Specialized Gear: With experience, you’ll know what accessories make your observing more enjoyable. This might be the stage you invest in that binoviewer (to use both eyes on bright targets like the Moon and planets), or high-end eyepieces (those ultra-wide 100° apparent field eyepieces can feel like “floating in space” but come at a premium price). You might have narrowband filters like an OIII filter (very useful for planetary nebulae and certain nebulas like the Veil Nebula) or an H-beta filter (a niche filter mainly for the Horsehead Nebula and a few others). If you have a large Dobsonian, you might add digital setting circles or analog degree circles to help locate faint targets. Astrophotographers will accumulate goodies like field flatteners, reducer lenses, filter wheels, and processing software (PixInsight, Photoshop, etc.). An experienced visual observer might also carry tools like a SQM (Sky Quality Meter) to measure sky darkness at various sites, or maybe even a night vision eyepiece device (some amateurs use military-grade night vision to amplify nebulae which is a very specialized and expensive but intriguing area). In short, experienced stargazers often fine-tune their arsenal to match their interests, whether that’s chasing faint galaxy clusters, splitting sub-arcsecond double stars, or imaging exotic nebulae.
- Observing Skills: By now, you’ve honed your observing techniques. You routinely use averted vision (looking slightly away from a faint object to engage the more sensitive part of your retina) to tease out details at the threshold of visibility. You know how to properly cool down your telescope (and might have added cooling fans to big mirrors), collimate your optics with precision, and wait for moments of steady air (seeing) to catch crisp views of planets. Perhaps you’ve undertaken observing projects like the Messier Marathon (trying to see all 110 Messier objects in one night) or are working through an observing program from the Astronomical League (such as the Herschel 400 list, double star program, etc.). At this level, things like the Bortle scale become very relevant – you know the difference between observing in a Bortle Class 3 rural sky vs. a Class 1 truly dark site. You might plan trips to dark sky reserves or star parties to experience those excellent dark-sky conditions where the Milky Way casts visible shadows.
- Sharing the Passion: Many experienced stargazers give back to the community. You might be involved in a local astronomy club, doing outreach events where you let the public look through your telescope (there’s nothing like hearing a first-timer gasp “Oh WOW I can see the rings!” at Saturn – it reignites your own excitement). You might also mentor beginners online in forums or Reddit, helping them navigate the learning curve (and preventing the classic newbie mistake of buying a flimsy “department store” telescope). By teaching others, you often reinforce your own knowledge and keep things fresh.
Challenges for Experienced Stargazers
Keeping the Thrill: One challenge as you gain experience is avoiding burnout or boredom.
The night sky is essentially the same show year after year (with some variations), so experienced observers sometimes need new goals to stay inspired. Luckily, the universe is vast! Here are some ideas:
- Chase faint/difficult objects: Maybe you’ve seen all the Messier objects – try the Caldwell catalog or the Herschel 400. How about dwarf planets? Ceres is easy, but have you spotted Pluto with your scope? (It’s a challenge object for sure – essentially a 14th magnitude “star” moving night to night.) Perhaps try to catch a glimpse of the Horsehead Nebula or the central star in the Ring Nebula – classic difficult observations that require technique and great conditions.
- Astrophotography Projects: Even after years of observing, the sky can still deliver once-in-a-lifetime events. Total lunar eclipses (the Moon turns red and you can see it through binoculars or a scope in detail), solar eclipses (with proper solar filters!), transits (like when Venus or Mercury transit the Sun), or rare comet apparitions (remember NEOWISE in 2020?). Being ready for these and making the effort to observe or photograph them can be incredibly rewarding. Maybe you plan travel around astronomy, e.g. a trip to see the Aurora Borealis, or to experience a truly dark site like in a desert or high mountain.
- Building/Modifying Equipment: Some experienced hobbyists build their own telescopes (grinding a mirror by hand or assembling a Dobsonian from a kit). Others 3D-print accessories, or modify webcams into planetary cameras, etc. This DIY aspect can be fulfilling and connects you with the legacy of amateur telescope makers.
No matter how experienced you are, the core joy of stargazing remains: stepping out under a clear night, looking up, and feeling connected to the cosmos. The sky always has something new to teach us or show us, and as an experienced stargazer, you’re in a position to appreciate those subtle revelations.
Advanced Telescopes & Mounts
- Large Dobsonians (12"+)
- Equatorial Mounts (EQ6-R Pro, AVX)
- Apochromatic Refractors
- Smart Telescopes (eVscope, Stellina, Vespera)
Specialized Gear
- Binoviewers
- Ultra-wide eyepieces (100°+)
- Narrowband filters: OIII, H-beta
- Night vision eyepieces
- Field flatteners, filter wheels, cooled astro cameras
Observing Skills & Projects
- Messier Marathon
- Astronomical League Programs
- Advanced challenges: Horsehead Nebula, Pluto
Sharing & Advocacy
- Join astronomy clubs
- Outreach events
- Mentoring newcomers
- Promote dark-sky awareness
Apps for Advanced Users
Apps & Tech for the Advanced: In addition to the ones already mentioned, experienced astronomers might use more niche software:
- Planetarium/Planning software: SkyTools, DeepSkyPlanner, or TheSkyX – these offer very detailed planning for observations and astrophotography sessions.
- Exoplanet & Variable star apps: If you follow specific interests, there are apps that alert you of ISS flares, exoplanet transits, etc. (For example, an app called Transit Finder helps you plan ISS solar/lunar transits to photograph the ISS silhouette against the Sun or Moon.)
- Remote Telescope Access: Some experienced folks even use apps to control remote observatories (iTelescope or Telescope Live services), essentially “renting” time on a bigger scope under dark skies to image targets you can’t from home. While not traditional stargazing through your own eyepiece, it’s an interesting way to do advanced astronomy work from your computer.
- Augmented Reality and Beyond: As tech advances, we might see AR glasses that overlay constellations as you look at the sky, or integration of real-time data (imagine looking at Jupiter through a scope while an app labels which moons are which and when the next Great Red Spot appearance will happen). The experienced stargazer of the future will have many high-tech aids, but the heart of the experience, the wonder of the universe, stays the same.
Seasonal Highlights
Spring
- Galaxy season: Virgo Cluster, Leo Triplet
- Bright stars: Regulus, Spica, Arcturus
- Meteor shower: Lyrids
Summer
- Milky Way core, Sagittarius, Scorpius
- Summer Triangle: Vega, Deneb, Altair
- Saturn’s opposition
- Meteor shower: Perseids
Fall
- Pegasus and Andromeda (M31)
- Double Cluster in Perseus
- Pleiades rising
- Meteor showers: Leonids, Taurids
Winter
- Orion, Orion Nebula (M42)
- Taurus, Pleiades, Hyades
- Gemini, Auriga, Canis Major
- Bright stars: Sirius, Betelgeuse, Rigel
- Meteor shower: Geminids
Conclusion: Keep Looking Up!
Stargazing is a journey, not a destination. Whether you’re a newbie scanning the Moon’s craters with $30 binoculars or an advanced amateur stacking hours of galaxy photos, the sense of wonder is the same. Every clear night is an opportunity to experience something cosmic; be it the quiet awe of Saturn’s rings, the thrill of spotting a shooting star, or the deep contemplation of light that left a galaxy before humans existed and is only now entering your eyes.
Encouragement to Continue: Don’t be discouraged by occasional frustrations (cloudy weather, equipment quirks, or the learning curve of finding faint objects). Every astronomer, no matter how experienced, faces those. Instead, celebrate the successes and improvements. Maybe tonight you found the Andromeda Galaxy after struggling last time and that’s a win! Or you finally understood how to collimate your telescope next time, those stars will look sharper. Astronomy rewards patience and curiosity. The more you learn, the more the sky becomes like an old friend, one that always has new stories to tell.
Join the Community: Remember that you’re not alone under the stars. Amateur astronomy is a wonderfully communal hobby. Consider joining a local astronomy club or attending a star party event. You’ll meet people of all ages and backgrounds brought together by a shared passion for the sky. You can swap tips, try out each other’s equipment, and learn a ton in a single night. Plus, showing a newcomer their first view of Jupiter or the Moon through your scope can remind you just how special these experiences are. As the saying goes, “the best telescope is the one used most often”, sometimes that’s because it’s the one being shared and enjoyed with others.
Lifelong Learning: There’s always more to explore. The field of astronomy is constantly evolving – new celestial events (like an unexpected bright comet) can occur, and new technology can enhance the hobby (who knows, maybe in a few years we’ll have affordable adaptive optics for amateur scopes, or space-based eyepieces!). Keep learning by reading, asking questions, and perhaps specializing if something really captivates you (some amateurs become experts in variable stars, or lunar geology, or comet hunting). The night sky can also lead you into related interests: photography, physics, mythology (stories of the constellations), history (how ancient cultures viewed the stars), and so on.
Finally, take moments just to appreciate the beauty and perspective stargazing provides. It’s both humbling and uplifting to stare into the infinity of space. As you pack up your gear at the end of the night, you might feel physically small but mentally expanded. You’ve time-traveled with your eyes, seen the footprints of stellar evolution, and witnessed first-hand the grandeur of the universe. That feeling is something truly special.
So, keep looking up! Clear skies, and happy stargazing. Here’s to many wondrous nights under the stars.
Ad astra!
You May Also Like
Signs of Life on Exoplanet K2-18b
Scientists have detected potential signs of life in the atmosphere of exoplanet K2-18b, sparking excitement and debate about the possibility of extraterrestrial biology.
A Beginner’s Journey Into Astrophotography: What to Know, What to Bring, and What to Expect
A practical beginner’s guide to astrophotography, covering everything from gear and techniques to capturing and editing stunning night sky images.
Top 5 Astronomy Apps to Explore the Night Sky
Discover the cosmos from your backyard with these top astronomy apps that turn your phone into a personal planetarium.
Seasonal Astronomy: What I Look For in the Changing Sky
In this guide, I’ve outlined the highlights I look forward to in each season from mid-northern latitudes. It’s not just a list of objects to observe. It’s a framework for thinking about how our position in space affects what we can see, and when
Finding Dark Sky Astronomy Sites
Struggling with light pollution? This guide walks through how to find dark sky sites, make the most of backyard observing, and reduce local light interference. Plus tips on staying safe and becoming an advocate for preserving our night skies.