Mastering Infrared Photography: Capturing the World Beyond Visible Light

Infrared photography lets you capture light beyond what our eyes can see, revealing surreal landscapes with ghostly white foliage and dark, dramatic skies. It’s a unique style that turns ordinary scenes into otherworldly images. Whether you're a beginner or a seasoned shooter, mastering IR photography is easier than it looks. In this post, we’ll cover the essential gear, techniques, and post-processing tips to help you explore the world of infrared photography.
Gear for Infrared Photography
Getting started with IR does require some specialized gear. Here’s what you’ll need:- Infrared-Converted Camera: The best results come from a converted camera dedicated to IR. A conversion involves removing the camera’s internal IR-blocking filter and replacing it with one that allows infrared light to reach the sensor. This makes the camera see IR light and lets you shoot handheld with normal exposure settings. Many people convert an older DSLR or mirrorless body for infrared use (services like LifePixel or Kolari Vision can do this). Once converted, your camera will capture only IR (unless you opt for a full-spectrum conversion with external filters), so it becomes a special tool for IR photography.
- IR Lens Filters (for Unconverted Cameras): If converting a camera isn’t an option, you can use an IR filter on the lens of a regular camera. These screw-on filters (like the popular Hoya R72) block visible light and only let infrared wavelengths through. The trade-off is that they are extremely dense – using one is like putting a very dark ND filter on your lens, meaning you’ll need long exposures (often multi-second) to get a proper image . Expect to compose and focus before attaching the filter (since you won’t see much through the viewfinder once it’s on). Using IR filters is a budget-friendly way to experiment with infrared, but you’ll want a tripod and some patience for the trial-and-error exposure process.
- Lenses: You can use your existing lenses for IR, but be aware some lenses don’t play nice with infrared. A common issue is hot spots, which is a bright circular artifact in the center of the frame caused by internal reflections in certain lenses. Interestingly, expensive pro lenses with advanced coatings can be more prone to hot spots than mid-range lenses (those coatings are optimized for visible light, not IR) . It’s a bit counterintuitive, so check online IR lens performance lists or test your lenses. Many photographers find that primes and older lenses without fancy coatings tend to work well. If you encounter a hot spot, you might switch to a different lens or try stopping down the aperture to see if it diminishes.
- Accessories: A sturdy tripod is essential if you’re shooting with IR filters on an unconverted camera due to the long exposure times. A remote shutter release (or using your camera’s self-timer) will help avoid shaking the camera during multi-second shots. It’s also wise to carry extra batteries since using live view and long exposures can drain power quickly. If you plan to use IR filters on multiple lenses, consider buying one large filter (say, 77mm or 82mm) and a set of step-up rings to fit it to your lenses – this way you only need one filter for all your lenses.
Infrared Shooting Techniques
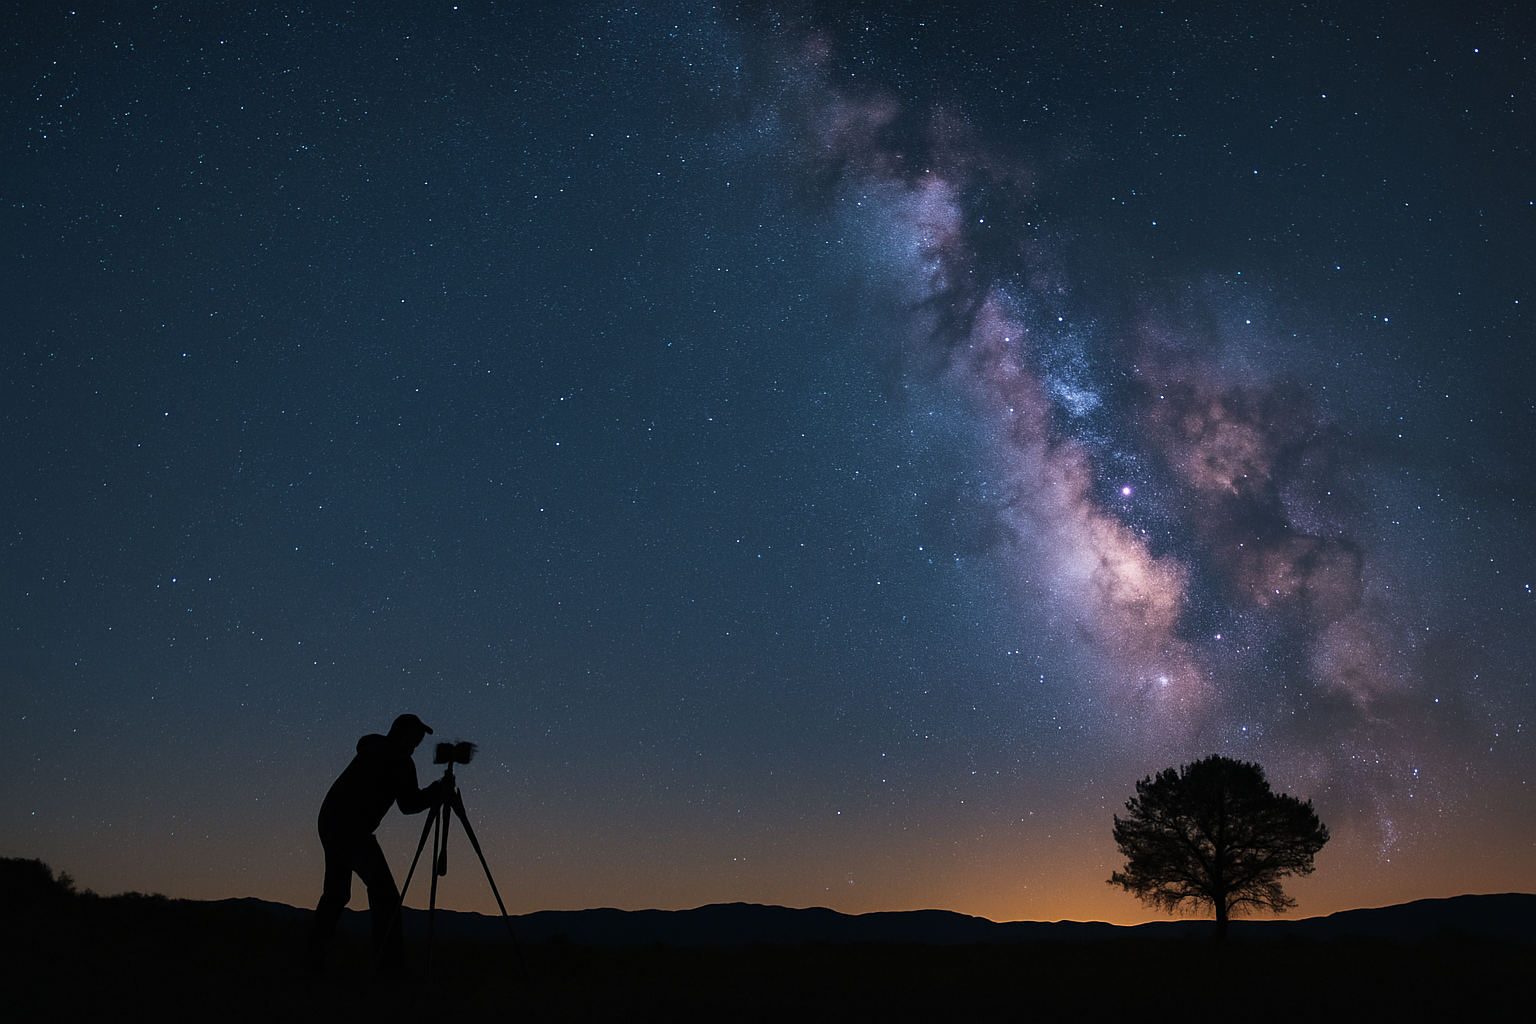
Infrared photography thrives under bright, direct sunlight (the stronger the IR light, the better) . The image above (a black-and-white infrared landscape) shows how IR can turn green grass into a glowing carpet of white and render a blue sky almost black, creating intense contrast. Foliage appears white in IR because leaves reflect a large amount of infrared light (a phenomenon known from film days as the “Wood Effect”). To capture scenes like this, keep these shooting tips in mind:- Focus and Aperture: IIR light focuses slightly differently than visible light. If you’re using an IR filter on a non-converted camera, compose and focus before attaching the filter (since you won’t be able to see through it well). Use a small aperture like f/8 to f/11 to get a deeper depth of field. This helps cover any minor focus shifts caused by IR wavelengths.
Mirrorless cameras have an advantage here: they focus using the imaging sensor, so they tend to autofocus accurately in infrared. DSLR users may need to use live view or even get a one-time focus calibration done if the camera is converted, since the regular phase-detect AF might misfocus in IR. In general, using manual focus with focus peaking (if available) or focusing at infinity for landscapes can also work well with IR photography. - Exposure and Stability: Always shoot RAW for infrared. RAW files give you full control to adjust the white balance and colors afterward, which is crucial for IR. If you’re using an IR lens filter on an unconverted camera, be prepared for long exposures even in daytime. It’s not uncommon to have exposure times of several seconds in bright sun to get enough IR light through the camera’s internal filter. Because camera meters aren’t calibrated for IR, you may need to experiment to find the right exposure (the camera’s meter can be misled, so try bracketing shots)
A tripod is your best friend to keep images sharp during these long exposures, and use a remote release or self-timer to avoid touching the camera. If your camera is converted for IR, you can typically shoot with normal shutter speeds hand-held, but a tripod can still help with careful composition and for any bracketed shots you might take for HDR or exposure blending. - Lighting and Subjects: IR photography works best with strong sunlight and lush foliage. Midday, which is usually harsh for normal photography, can be ideal for IR – leaves are reflecting lots of IR light and the sky is rich with IR to turn dark. Aim for scenes with plenty of greenery (trees, grass, plants) and an open sky or clouds. White puffy clouds against a dark IR sky look especially dramatic. Try to avoid shooting IR in deep shade or on very overcast days when starting out, as the infrared effect (white foliage and dark sky) will be much less pronounced without direct IR-rich sunlight. Reflections off water can also look interesting in IR, and architecture juxtaposed with trees can create a striking contrast between the normal-looking buildings and the ethereal foliage..
- In-Camera White Balance: Set a custom white balance on green grass or leaves if your camera allows it (do this with the IR filter on or on your converted camera). This step isn’t required, but it can make a huge difference. By telling your camera that foliage is the neutral point, the JPEG previews (and sometimes even the RAWs in compatible software) will show more neutral colors; often giving you white trees and a reasonably balanced sky straight out of camera.
For example, with a 720nm filter, setting a custom WB off grass will yield that classic white foliage look in your images. If your camera can’t set a proper custom WB for IR (many cameras struggle because IR pushes WB beyond normal ranges), no worries: just shoot in RAW and you can fix the white balance easily in post-processing.
Infrared Post-Processing Tips
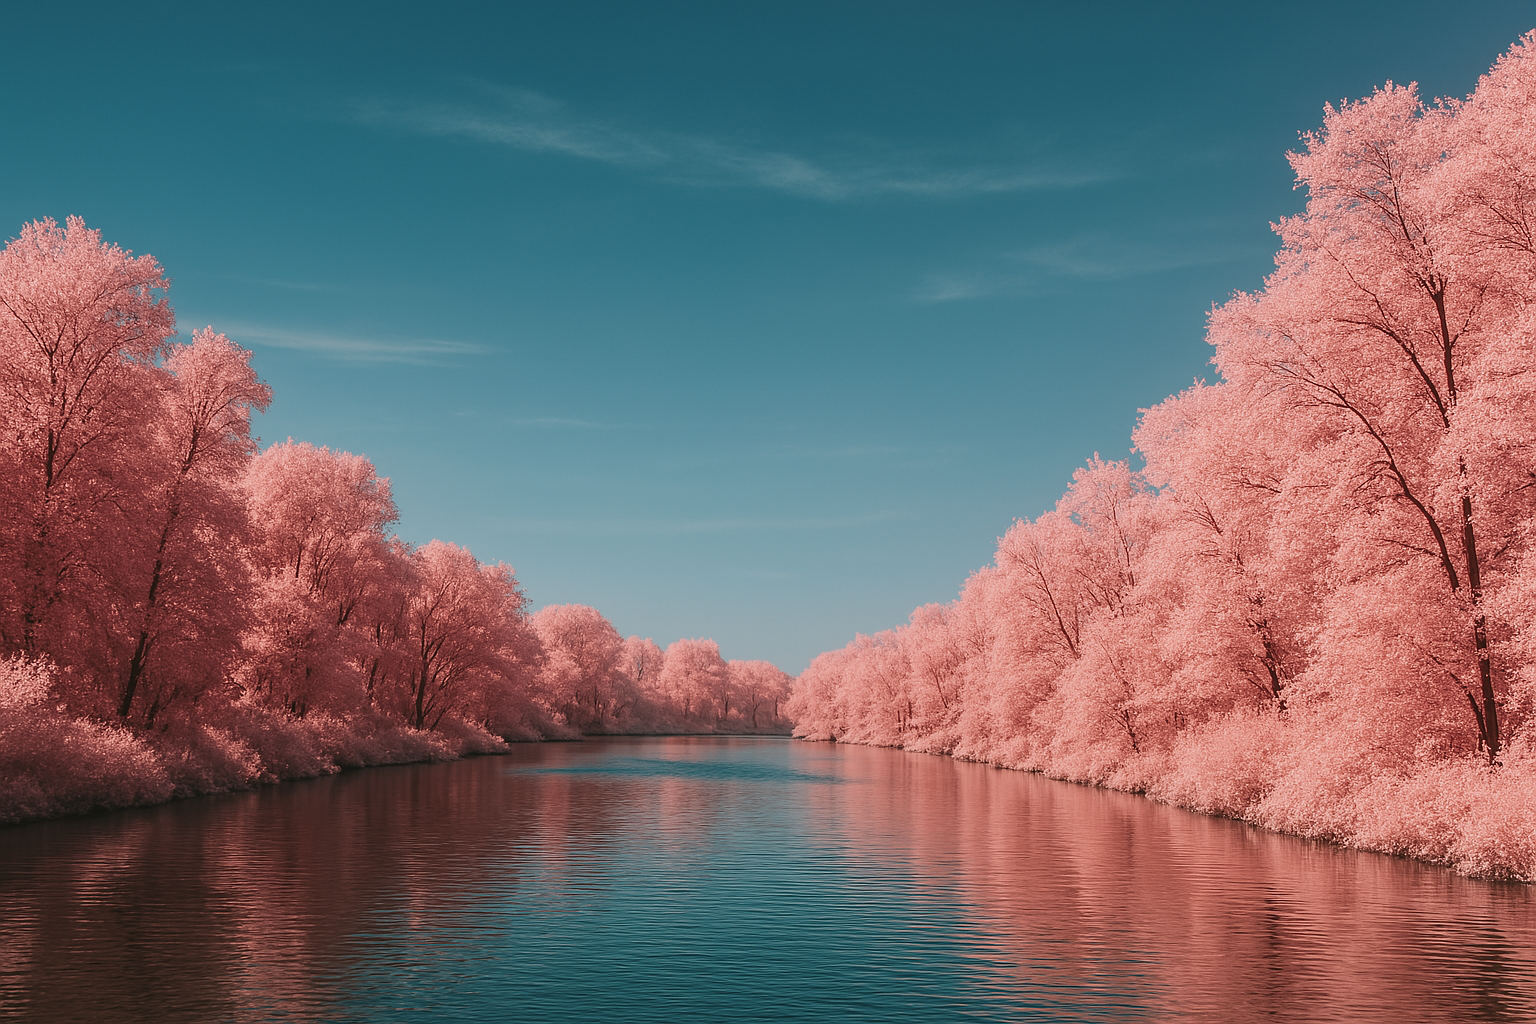
Post-processing is where infrared images truly come to life. The false-color photo above shows how editing can transform an IR shot into a surreal scene with pastel pink trees and an aqua sky. Typically, a straight-out-of-camera infrared image (especially from a converted camera or using a 720nm filter) will appear very red or magenta-toned. By editing the image on your computer, you can bring out other colors or convert it to dramatic monochrome. Below are key post-processing steps and tips for infrared photography:- White Balance Correction: Start by adjusting the white balance of your RAW image. Push the temperature/tint until any foliage in the scene looks neutral (gray/white) – this is easier if you shot with a custom white balance, but you can always correct it now. Getting the white balance right will make the rest of your edits much easier. Some editing programs have limits on how far you can push the WB for IR images (if so, you might create a custom camera profile, but that’s an advanced step). As a beginner, just know that a proper white balance is the foundation for good IR post-processing.
- Channel Swap for False Color: The magic trick for false-color IR is channel swapping. This means exchanging the red and blue color channels (in Photoshop, for example, you can use the Channel Mixer to set Red output to 0% red/100% blue, and Blue output to 0% blue/100% red). Doing this will turn a red sky to blue and can turn orange/red foliage to white or gold. Most color IR photographers use this standard red/blue swap to get those dreamy blue skies and white clouds/foliage.
There are online tutorials and even one-click actions/presets to do channel swapping if you’re not comfortable doing it manually. Once you swap channels, you’ll already see a huge change: often a blue-toned sky and much more pleasing false colors. - Color Toning or Black & White: After the channel swap, fine-tune the colors to taste. You can play with Hue/Saturation sliders or selective color adjustments to get the look you want. Common approaches include making foliage a golden yellow or leaving it pure white, and adjusting the sky to a deep blue or cyan. There’s a lot of creative freedom here. IR false color doesn’t have “true” colors, so it’s about what looks good to you. Alternatively, you can convert the image to black and white at this stage (if you prefer the classic IR look). Many infrared shooters love the black-and-white IR style for its crisp contrast and “snowy” white trees.
Simply converting to monochrome and increasing contrast can yield a stunning image if the colors aren’t working out. In fact, an 850nm filter will produce only B&W images by design, but even with a color IR filter you always have the option to go monochrome in post. - Finishing Touches: Finally, treat your IR image to some standard editing enhancements. Increase contrast – IR images often benefit from a contrast boost to deepen shadows and make those white highlights pop. You might also add clarity or structure to bring out texture (for example, details in leaves or clouds). Some photographers like to add a soft glow effect to highlights to mimic the dreamy look of infrared film. In fact, the glow (called halation) was a hallmark of IR film; you can simulate this by applying a slight Gaussian blur to a duplicate layer and blending it, or by using presets (one photographer adds a halation effect using an IR film preset to get those glowing highlights).
Don’t forget noise reduction if needed, shooting IR, especially with filters, can introduce noise due to long exposures or high ISO, so a bit of noise reduction can help clean up the image. Lastly, sharpen your final image to taste. After these adjustments, you should have a finished infrared photograph with otherworldly colors or contrast that really stands out.
Final Thoughts
Infrared photography might seem mystifying at first, but it’s a rewarding way to see the world in a new light (literally!). With the right gear and a bit of practice, you’ll be capturing scenes that look like dreams; from white treetops against inky skies to surreal false-color landscapes. Remember to be patient and experiment: IR results can vary a lot depending on lighting, subject, and post-processing choices. Whether you stick to ethereal black-and-white or venture into wild false colors, IR photography offers a fresh creative outlet that’s sure to impress. Now grab that IR filter or converted camera, and have fun exploring the world beyond visible light!